


SUPPLIES:
- Lighter
- Scissors
- Twine/String/Fishing Line (I use what I have but prefer fishing line)
- 2 inch Grosgrain Ribbon
- 1/2 inch Grosgrain or Satin Ribbon
- 1 barrette
- Hot Glue Gun

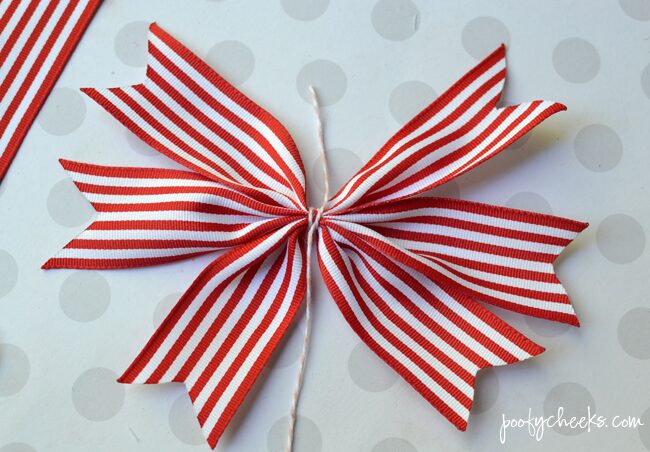
Step #1: Cut a piece of the 2 inch grosgrain ribbon about 24-30 inches in length and lay it out as seen in the picture above. (As seen in picture below) Snip a triangle out of each end and use a lighter to seal the ends from fraying.

Step 2: Gather ribbon through the center from bottom to top folding them in the center to create a puffy bow.

Step 3: Secure the center by wrapping and knotting with a piece of string. Trim the string and place this bow to the side.

Step 4: Cut three 5 inch pieces of the 2 inch grosgrain ribbon and cut three 5 inch pieces of the 1/2 inch ribbon.


Step 5: Cut angled edges into each end of the 6 pieces of ribbon and seal the edges from fraying with a lighter.

Step 6: Fold one piece of the 2 inch ribbon in half and then fold the two ends down. Continue this with the other two pieces of grosgrain ribbon. Secure the three pieces together with a piece of string and then trim the excess string. (See four pictures below)


Step 7 – Fold each piece of 1/2 inch ribbon in half and secure together with string.

Step 8: Use a dab of hot glue to secure the 1/2 inch ribbon to the 2 inch ribbon. Then use another dab of glue to secure the first bow to the top.

Step 9: Cut a piece of half inch ribbon 6 inches long and know it around the center of the bow.


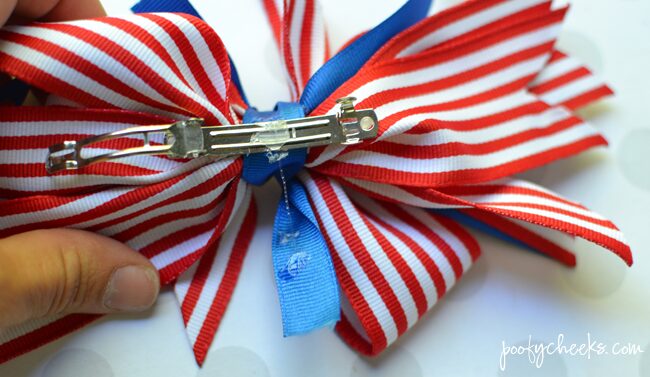
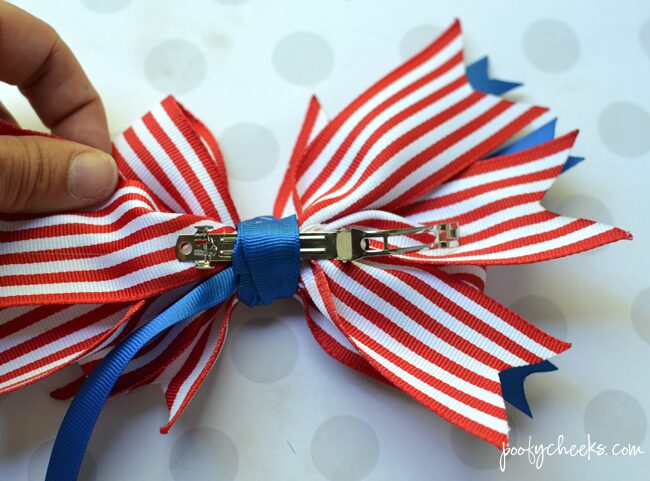
Step 10: Remove the center piece from the barrette and then secure the barrette to the back of the bow using a dab of hot glue.


Step 11: Dab hot glue onto the center of the barrette and wrap one end of the center blue ribbon around and secure it. Repeat with the other loose end of blue ribbon trimming as needed. Replace the center piece of the barrette.
Tada! Now you have created a BIG BOW perfect for your little lady!


Step-by-Step DIY Boutique Hair Bow Tutorial - Poofy Cheeks
Monday 16th of July 2018
[…] Combine the two for a Layered Boutique Hair Bow […]
Personalized DIY Bow Holder - Poofy Cheeks
Wednesday 30th of May 2018
[…] you need a few bow tutorials now? I got you covered with that too. Make a boutique hair bow or my favorite is the spiker […]