Skip to Content

Santa Sack Process – Selling Handmade #PoofyCheeksShop

Three years ago I started making and selling the infamous Santa Sacks in my online shop Poofy Cheeks. The bags have evolved and I have learned so many tricks to getting them out the door faster without cutting any corners when it comes to quality. In the past month I have sold over 800 sacks and every single day my house has been buzzing with the sound of Santa sack making. I do most of the work fitting in time to make them between school drop off and pick up, naps and meals (I am a mom of four!). I couldn’t do it all on my own though. I get help from my husband, sister, parents, sister-in-law and friends. They are all truly a blessing to us during what we call Santa Sack Season – helping me out in what we call the Santa Sweat Shop. Thanks to my helpers we take bolts of fabric, huge rolls of ribbon, a few other supplies and turn them into personalized Santa sacks that will hopefully be a keepsake and tradition in your home.

Here is a behind the scenes look at the process of getting the Santa Sack bags from my door to yours…

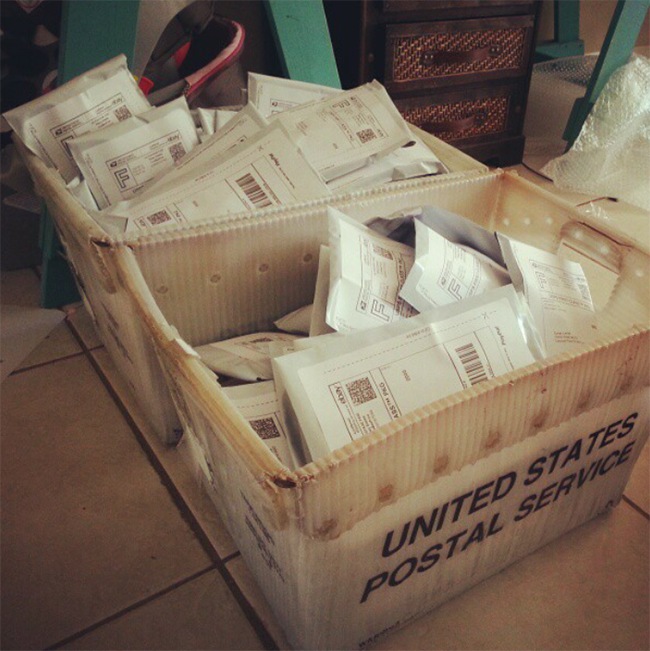
After a purchase is made I ship out all of the invoices and organize them with Excel for shipping purposes. I have found that being organized is the only way for things to run quickly and smoothly. I print my list out alphabetical by the buyers name and later when I print shipping labels I also arrange those alphabetical.

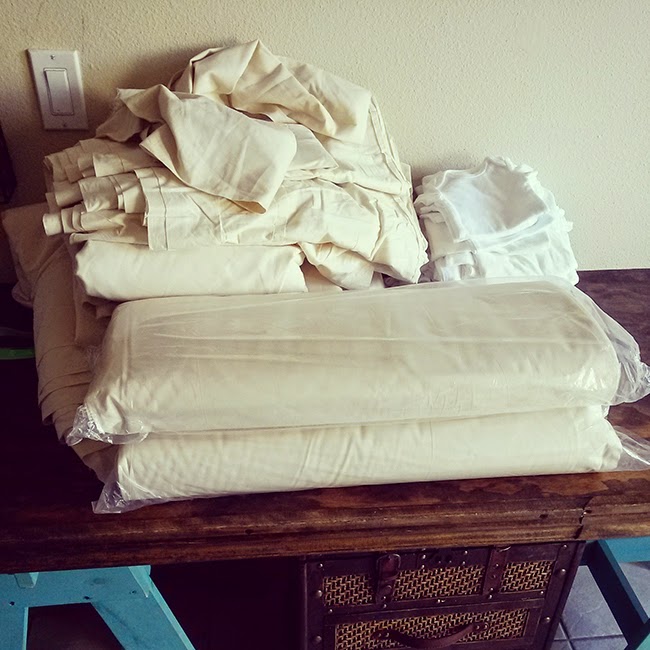
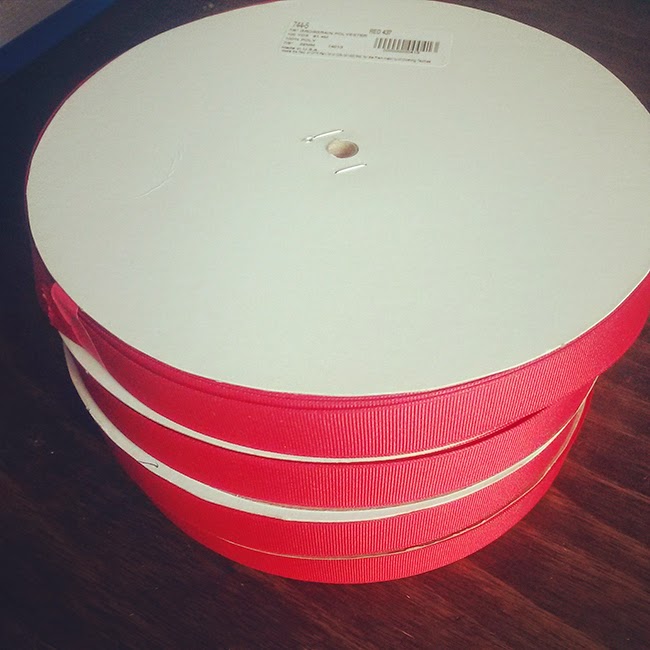
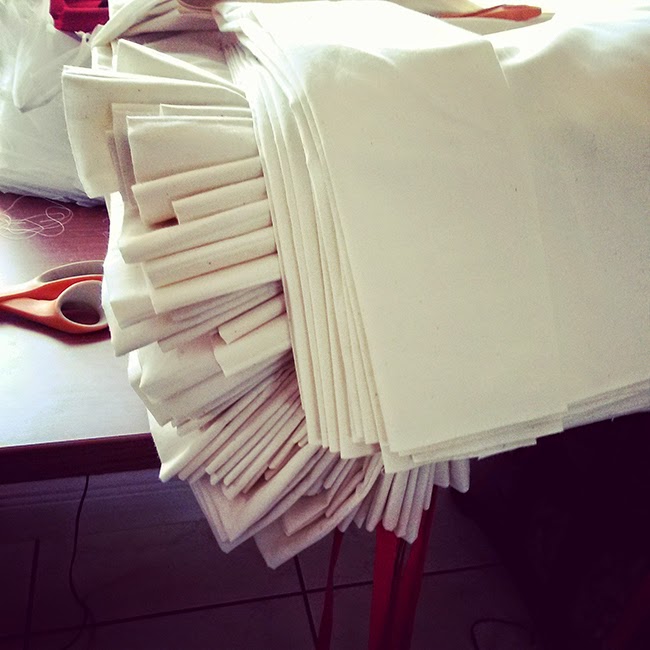
 The next step is gathering all of the supplies … the fabric, ribbon and everything else I need (lots of thread, scissors, and even a lighter to seal the ends of each ribbon tie). After the supplies are gathered the fabric is cut to size and the ribbon is cut.

 
This is my sewing machine – she is a work horse. I have two sewing machines so that when I have my helpers come over someone else can be sewing too.

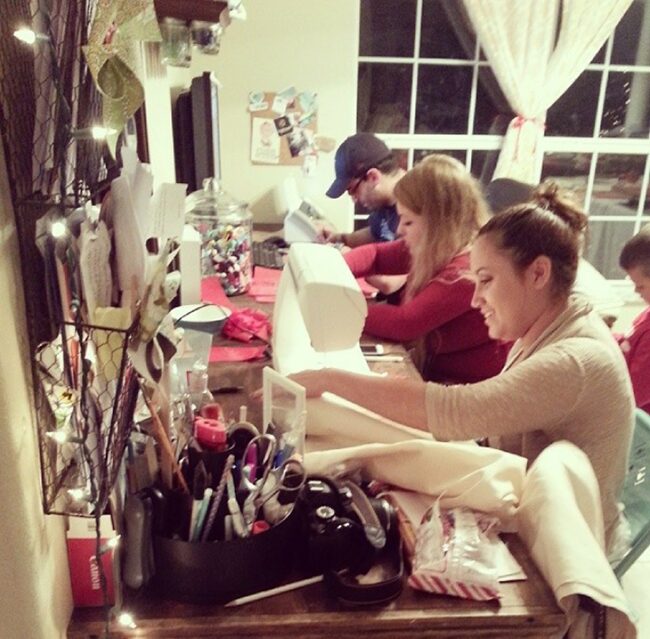
This is a picture from last year. My sister, her boyfriend and another friend were all at the desk helping a sista’ out! We work late and we drink lots of cocoa (and caffeine) to keep us going.

When the bags are sewn we run the ribbon through the tops to create the ribbon drawstring and use a lighter to heat seal the edges to prevent fraying. Some work even happens in my alternate office AKA swagger wagon AKA minivan while waiting in the school pick up line for my two oldest boys.

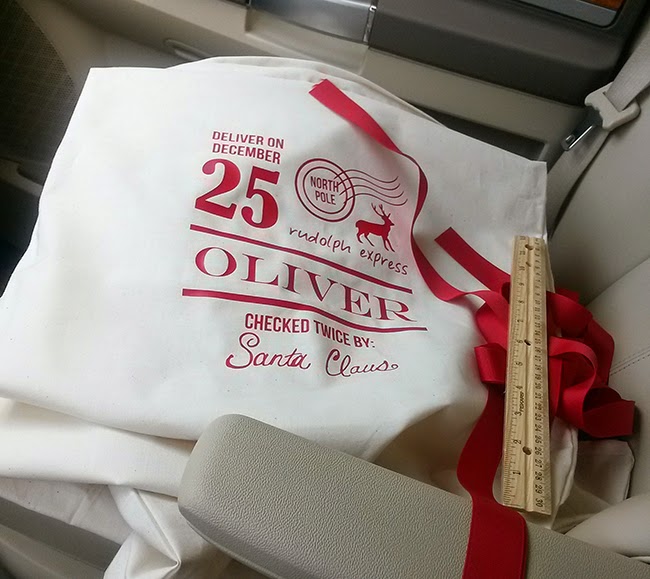
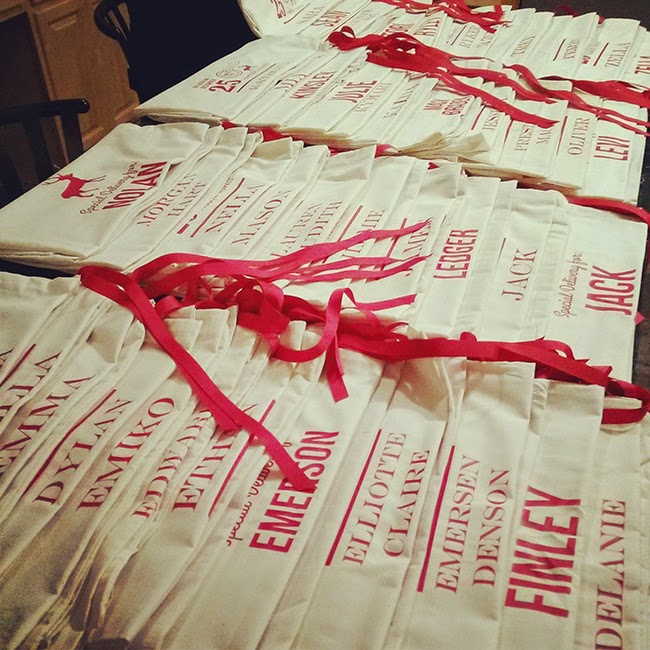
Once the bags are sewn it is ready to personalize them with the design. I designed the bags myself using Adobe Illustrator. I put in each name and align so everything is centered. Each design is cut into commercial grade vinyl, weeded and then pressed on a commercial heat press.

I work in batches so once a big batch is done the bags get laid out so the names are showing and I use my alphabetical list to match the shipping bags to the Santa sacks. The sacks are packaged and then dropped off at the post office headed for their new home! It is a bit of a process but totally worth it when I get to see all of the pictures of them under Christmas trees and shared with me on social media! Don’t forget to tag your Santa Sacks on Instagram with #poofycheeksshop #santasack!

Enjoy,

Follow Poofy Cheeks on InstagramFollow Poofy Cheeks on TwitterFollow Poofy Cheeks on PinterestFollow Poofy Cheeks on Facebook I party HERE

Check out the Poofy Cheeks Blog Pinterest Board for other craft and recipe ideas!
Follow Poofy Cheeks’s board Poofy Cheeks Blog on Pinterest.

Garner

Wednesday 19th of August 2015

Nice Post!

Comments are closed.